
Colors are everywhere, all around our surroundings. Have you ever noticed the variations in every color? The world of colors is very fascinating. With every light and shadow, the color varies from one hue to another. Photoshop uses information of colors in an image. Photoshop uses color modes in the background. Adobe Photoshop provides you with various color modes and color models. Here, we are discussing the various types of color modes in Adobe Photoshop.
Color Modes in Adobe Photoshop
First of all, it is good to understand the color mode, before, we start learning about the different color modes. The color mode in Photoshop is a method of working with color based on the color models.
The various color modes are:
- Bitmap
- Grayscale
- RGB color
- CMYK color
- Lab color
- Indexed color
- Duotone
- Multichannel
Bitmap

Bitmap color mode is one of the effective color modes, but not a versatile alternative to vector graphic artwork. This color mode is different from the other bitmap file format, that, you use in Windows and should not be confused.
It uses only two colors i.e., Black and White.
The bitmap color mode has a bit depth of 1, hence also called bitmapped 1-bit images.
The images saved in bitmap color mode are generally hard-edged line art. Consequently, it also leaves a rough, uneven and removes anti-aliasing from an image or work in comparison to Grayscale.
How to convert a color image into Bitmap
To convert a color image, we are using two color modes. First, you have to convert it into the Grayscale color mode, because you might want certain effects on your Picture or image and then convert it into a bitmap color mode.
The steps to follow are:
On top Menu, click on Image >> Mode >> Grayscale
Click “OK” on “Discard Color Information?”
Again, on top Menu, click on Image >> Mode >> Bitmap
Set Use and Output option as per your requirement and click “OK”
Grayscale
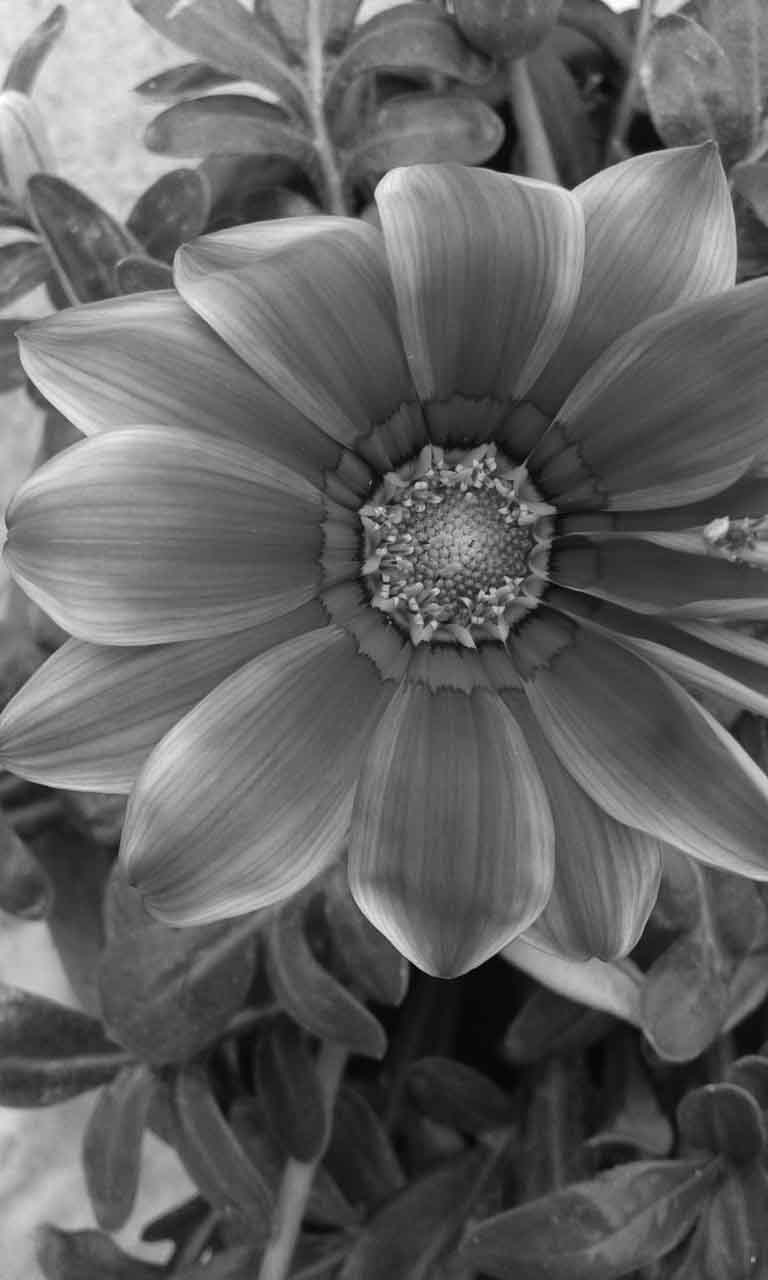
Grayscale is a range of shades of gray only. Since gray is the combination of white and black, hence, it does not have any other color as part of its color mode. It values with 256 shades of Gray ranging between 0 (Black) to 255 (Pure White) in an 8-bit image. In images of 16-bit and 32- bit, the grayscale range of shades is much greater. Grayscale images result in a smooth transition of shades between the values. Using this color mode, you can create brochures, pamphlets, newspapers, and newsletters etc.
While taking printouts, you can adjust the level of contrast of an Image.
How to convert a color image to Grayscale
On top Menu, click on Image >> Mode >> Grayscale
Click “OK” on “Discard Color Information?”
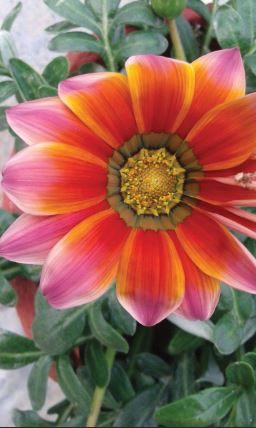
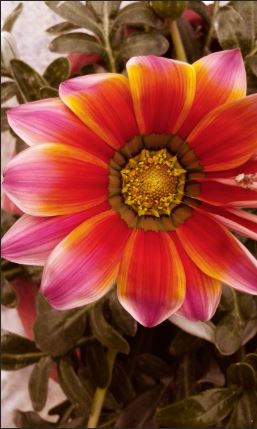
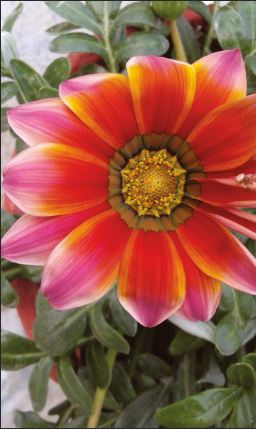
RGB Color

The RGB color mode is the representation using primary colors. These primary colors are Red, Green, and Blue. You can use the combination of these primary colors to obtain any available color from various colors. RGB color mode represents images in all electronic system such as Television, Laptops, Computer Monitors, Mobile devices, videos, web pages etc., along with its use in advanced photography.
Converting into RGB color mode
Image menu >> Mode >> RGB Color.
CMYK Color

CMYK color mode is the combination of four inks while printing, i.e., cyan, magenta, yellow and key. You can also call key, as black. Use this color mode for commercial printings. In Conclusion, check for gamut warnings and color accuracy before you start to print your work after converting it to CMYK color mode.
Gamut is the range of colors that CMYK ink can print. Out of gamut colors such as oranges and greens which are very bright, are often out of gamut. As a result, it would trigger gamut warning.
How to convert an image to CMYK color mode
Click on Image menu>> click on Mode>> click CMYK. Then, click on the OK button to convert the image to CMYK color mode.
Lab Color
Lab color mode is the combination of three components namely, “L” being lightness component whereas, “a” and “b” are the axis components. All these three components have their specific ranges. The Lightness component (L) ranges from 0 to 100 whereas the “a” component, green – red axis, and the “b” component, blue-yellow axis, ranges from +127 to -128.
Lab color is device-independent, which means that the range of colors in this is not restricted only to the range that can be printed or displayed on a particular device. It is the device-independent color mode, however, it is not often used.
Converting Image into Lab Color mode
Go to Image menu > click on it. Next, select Mode >> click on Lab Color. The image is now in Lab color mode.
Indexed color

The Indexed color mode is a range of exactly 256 colors and produces an 8-bit image. Apart from the photoshop palettes, you can make your own palette with Indexed color. Color lookup table or CLUT, in short, is built, storing and indexing the colors of an image in Photoshop. Many Web designers chose Indexed color palettes because of assured consistent colors it provides. Web designers get 216 colors only shared by Mac and PC. However, it is not limited to 216 colors only since it can reduce file size while maintaining the quality needed.
It is just right for the World Wide Web, presentation etc. and has its own Web palette. Dithering takes place in the Indexed color image.
What is Dithering?
When two certain colors are combined or to say, when adjacent pixels are intermixed, and blending to create a third color, this process of creating a new color is called Dithering. There are several palette options that you can work with Indexed color.
- The exact option takes RGB colors of an image. This option works only if there are fewer than 256 colors in an image.
- System (MAC OS) uses the Macintosh System palette.
- System (Windows) uses the Windows System palette.
- Web uses 216 colors. You should use Web palette because this is the safe palette while working on World Wide Web else, you might have problems with colors dropping out of an image when viewed in web browser.
- The uniform option takes the colors on a strict sampling of colors across the color spectrum.
- Perceptual palette option takes a color that is sensitive to human eyes.
- Selective palette creates a palette that is similar to Perceptual palette at the same time favoring broad areas of colors and preserving Web colors.
- Adaptive is the best option for the most work in Indexed color. This option, takes the sample of the most frequently used colors, during conversion, and it provides the closest match of an image.
- Custom option lets you create your own color palette.
- Use the previous option to revert to the last option you chose.
Other Options in Indexed Color
Forced gives you options to force include a color in the color table. In Black and white, you get pure black and white. Furthermore, Primaries has red, green, blue, cyan, magenta, yellow, white and, black colors. The web has 216 colors, which are web-safe colors. And finally, custom… lets you choose and make your own colors.
Transparency lets you make a choice to add transparency or not.
Matte is a background color to fill the anti-alias edge of a transparent portion bordering an image. Selecting transparency helps in blending the edge areas, of the image with the background, when matte is applied. If you deselect transparency, it is applied, to the transparent area. With both None and transparency selection, as a result, a hard-edged transparency is created, else a white fill is filled in the transparent part.
Dither has four options which are:
None uses the nearest color of the missing color and do not dither. It creates a posterized effect on an image.
Next is Diffusion which is error diffused method producing less structured dither. Choosing Preserve Exact Colors protects the color in an image.
The pattern makes halftone like pattern to make a color which is not in the color table.
Noise reduces seam pattern at the edge of an image.
How to convert to Indexed color?
For converting your image into an Indexed color mode, go to Image menu >> Mode >> Indexed color >> choose an option. In Forced, select an option from the given, details of which are discussed above. You can check or uncheck transparency. Now, select any Dither option. These options are None, Diffusion, Pattern and, Noise. Enter amount value in percent. Select or unselect Preserve Exact color. Click OK.
Duotone
Monotone, a single color, duotone meaning two-color, tritone that is, three-color and quadtone or four-color and grayscale image can be created using Duotone color mode with the four custom inks provided in it.
Steps to convert an image into Duotone
Image menu >> Mode >> Grayscale >> OK. Again, go to Image menu >> Mode >> Duotone. Select a Preset and Type. Click OK.
Multichannel
Multichannel color mode gives you 256 shades of gray in each channel. Use multichannel mode for specialized printing, not for general printing and storage of masks. Because of its use for specialized printing only, conversion, therefore, to a multichannel mode for 32-bit images or indexed color is not possible.
Spot color channel is one of the most noteworthy terms to understand when talking about Multichannel mode.
Purpose of Spot color channels
The purpose of Spot color channels is to provide a channel with additional inks. For specialized printings, use these additional Inks. Spot channel is a spot or place or location, where Photoshop applies an additional Ink to the artwork or an image.
After an artwork or image is converted, to Multichannel mode, its layers get flattened, because, it does not support them. Any CMYK or RGB image when converts into a multichannel mode, it creates spot channels for Cyan, Magenta, Yellow, and Black. In the case of original CMYK images only, Photoshop creates a spot channel for black. If you delete a channel from any of the Modes viz RGB, Lab Image or CMYK, an image gets into flat layers and converts to Multichannel mode. Photoshop DSC 2.0 format is the preferred mode to export and save multichannel images.
How to convert your image to Multichannel?
Image menu >> Mode >> Multichannel. Hence, you can convert your image into a multichannel color mode.


Vaibhav says:
Vaibhav says:
Vaibhav says: